Certificate files for Java, Oracle, or Keytool SSL Keystore Installations
This page shows you how to remove your certificates and private key from a .pfx file and merge them into a Java, Oracle, or Keytool SSL Keystore.
.pfx files are Windows certificate backup files that combine your SSL Certificate's public key and trust chain with the associated private key.
To convert your certificates to a format that is usable by a Java-based server, you need to extract the certificates and keys from the .pfx file using OpenSSL, and then import the certificates to keystore using keytool.
The following steps require keytool, OpenSSL, and a Weblogic-specific utility.
Converting Files Using Weblogic
- Export your certificates to a .pfx file on your Microsoft server.
-
Run the following OpenSSL command to extract your certificates and key from the .pfx file:
openssl pkcs12 -in yourfilename.pfx -out tempcertfile.crt -nodes -
You should now have a file called tempcertfile.crt. Open this file with a text editor (such as WordPad). You will see the private key listed first,
followed by your certificate information.
					-----BEGIN RSA PRIVATE KEY-----

					(Block of Encrypted Text)

-----END RSA PRIVATE KEY----- -
Cut and paste all of the private key, including the BEGIN and END tags to a new text file and save it as
your_domain_name.key
The certificates remaining in your tempcertfile.crt will be in the following order: Server Certificate, Root Certificate, and Intermediate Certificate. However, depending on your .pfx export there could be 2–4 certificates inside the file. As long as you exported the certificates correctly, whatever you have in this file are the certificates that you are supposed to have.
Make sure the private key was removed (not just copied and pasted), then save the file as your_domain_name.pem.
Log into your DigiCert Management Console. Click the order number and download the TrustedRoot.crt file.
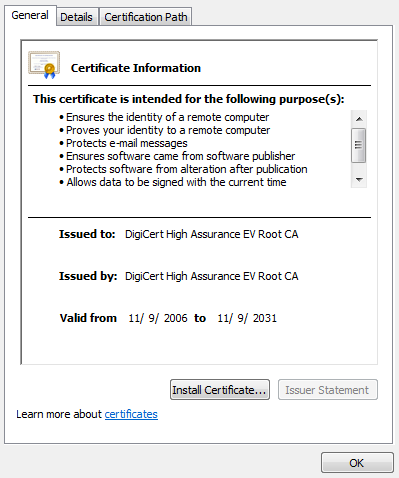
You can make sure that you chose the right file by verifying that your trusted root was issued to and by the same organization.
Note: Because DigiCert frequently issues certificates cross-signed by multiple Certificate Authorities for enhanced compatibility, your root certificate information could be different than what is shown in the image below.
Create a trust certificate keystore by running the following two lines as one command in keytool:
				keytool -import -trustcacerts -file TrustedRoot.crt -alias server


				-keystore new_trust_keystore.jks -storepass YOURPASSWORD
Remember to replace YOURPASSWORD with your password.
-
Create a identity certificate keystore by running the following two lines as one command in keytool:
					java utils.ImportPrivateKey -keystore new_identity_keystore.jks -storepass


					YOURPASSWORD -storetype JKS -keypass YOURPASSWORD -alias


					server -certfile tempcertfile.crt -keyfile your_domain_name.key


					-keyfilepass PFXPASSWORD
Remember to replace YOURPASSWORD with your password. Also replace PFXPASSWORD with the password that you created when you created your .pfx file.
You now have two files: new_trust_keystore.jks and new_identity_keystore.jks. These files are ready to use with your Java-based server.