Transferring Mac 10.9 Certificate Files
This page provides the following Mac 10.9 instructions:
For instructions about transferring Mac 10.7 certificate files, see How to Import and Export SSL Certificates in Mac 10.7.
How to Export Your SSL Certificates
-
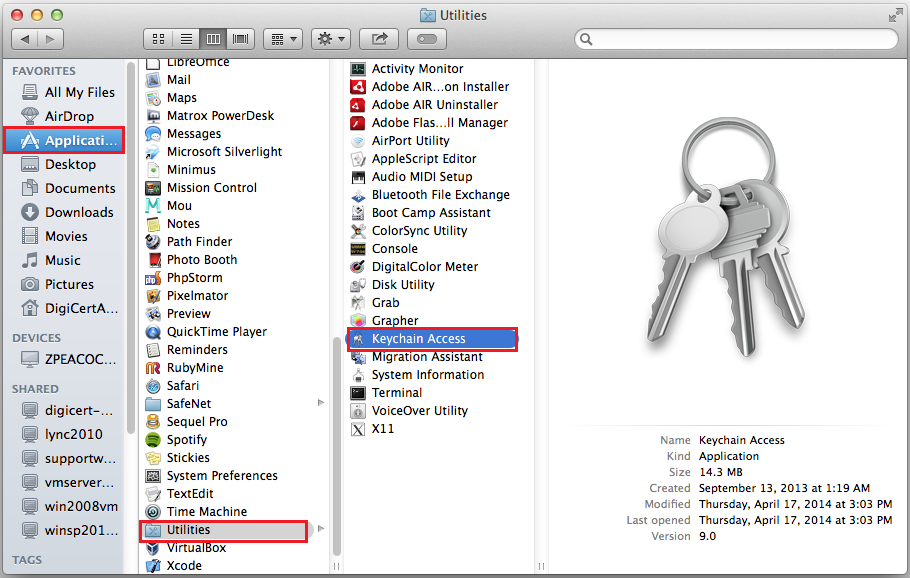
Open Keychain Access.
In the Finder window, under Favorites, click Applications, click Utilities and then double-click Keychain Access.

-
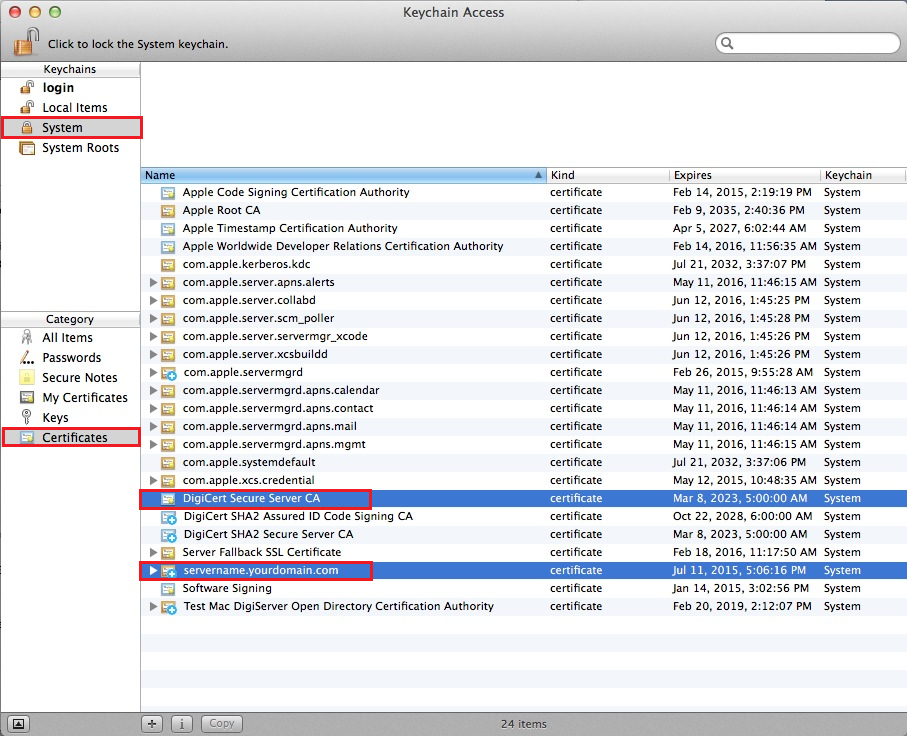
In the Keychain Access window, under Keychains, click System and then under Category, click Certificates.
-
Hold down the command key and then select your SSL Certificate (e.g. yourdomain.com) and the corresponding Intermediate Certificate (e.g. DigiCert Secure Server CA).
-
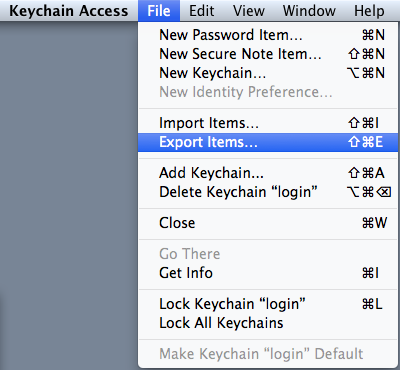
In the Keychain Access toolbar, click File > Export Items.
-
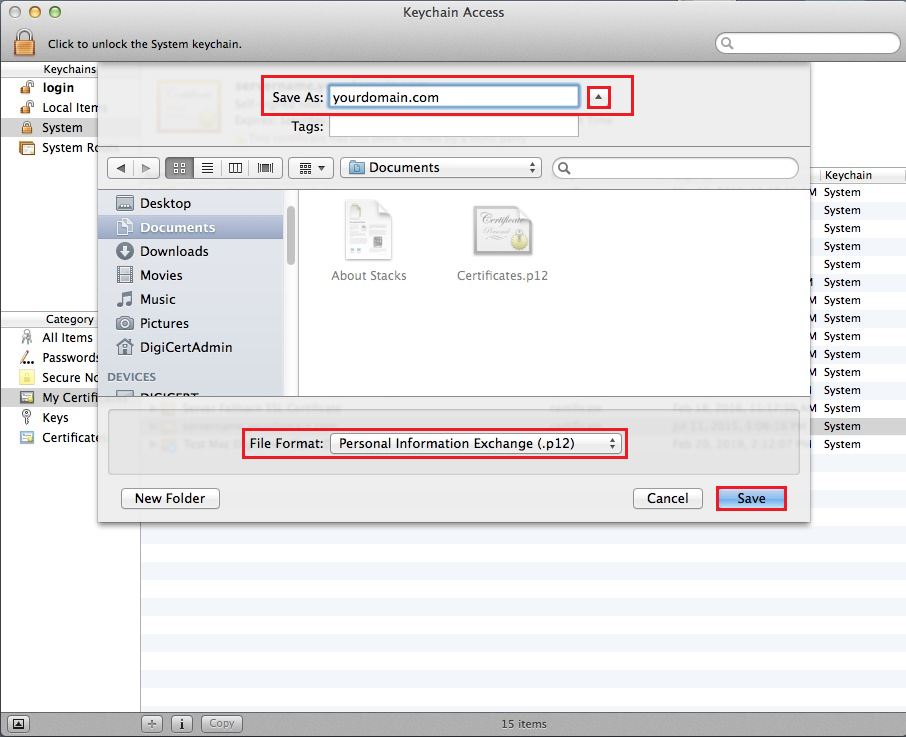
In the “Export” window, do the following:
-
In the File Format drop-down list select Personal information Exchange (.p12).
Note: A .p12 file uses the same format as a .pfx file.
-
Click the up-arrow next to the Save As box and navigate to where you want to save the SSL Certificate .p12 file.
Make sure to save the .p12 file in a location that you will remember.
-
In the Save As box, name the certificate .p12 file (e.g. yourdomain.com) and click Save.
-
-
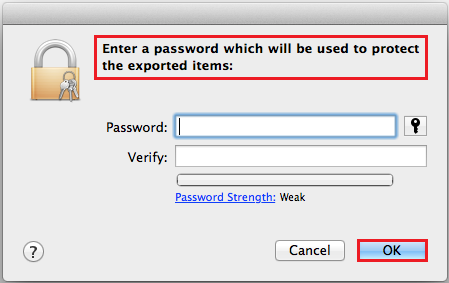
In the “Password” window, in the Password and Verify boxes, create and verify your password and then, click OK.
-
Your SSL Certificate (with private key and corresponding Intermediate Certificate) has now been exported as a .p12 file.
How to Import Your SSL Certificate File (.p12 and .pfx)
-
Open Keychain Access.
In the Finder window, under Favorites, click Applications, click Utilities and then double-click Keychain Access.
-
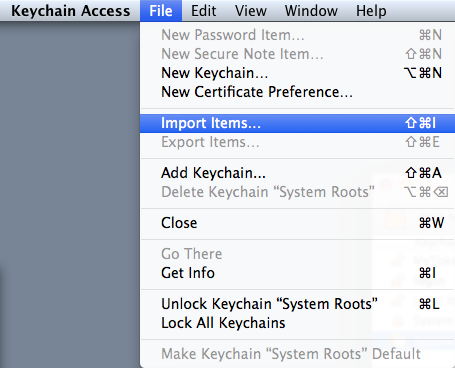
In the Keychain Access toolbar, click File > Import Items.
-
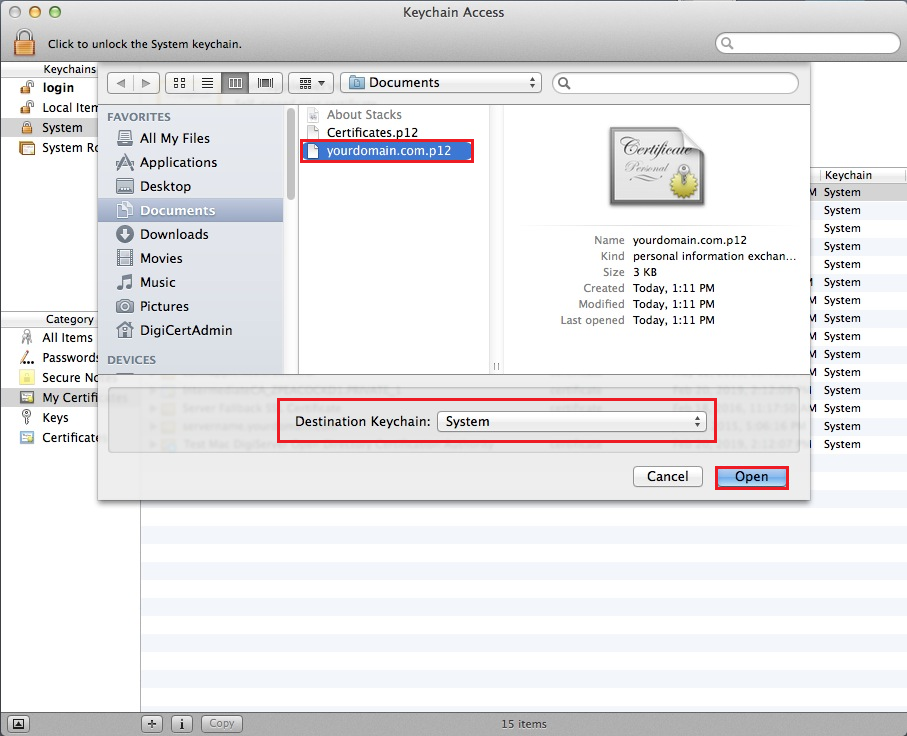
In the Keychain Access window, in the Destination Keychain drop-down list, select System.
-
Navigate to and select your SSL Certificate .p12 file (e.g. yourdomain.com.p12) and then, click Open.
-
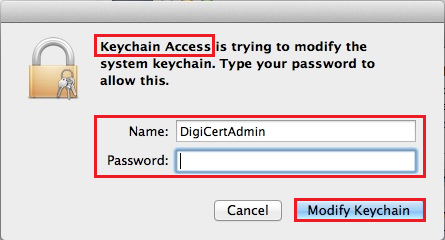
In the Keychain Access... window, enter your admin Name and Password and then, click Modify Keychain.
-
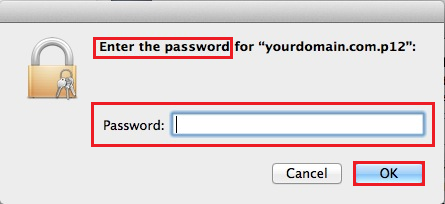
In the Enter the password... window, in the Password box, type the password that you created when you exported your SSL Certificate (with private key and corresponding Intermediate Certificate) and then click OK.
-
Your SSL Certificate (with private key and corresponding Intermediate Certificate) is now imported into your System keychain.
Next, use the steps below to assign the new certificate to Services.
How to Assign a New SSL Certificate to Website Services
-
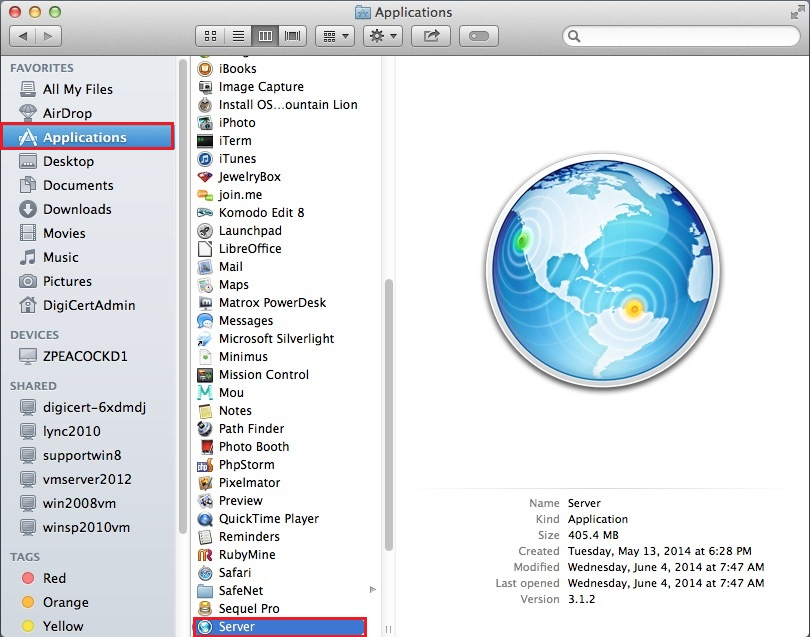
Open the Server App.
In the Finder window, under Favorites, click Applications and then double-click Server.
-
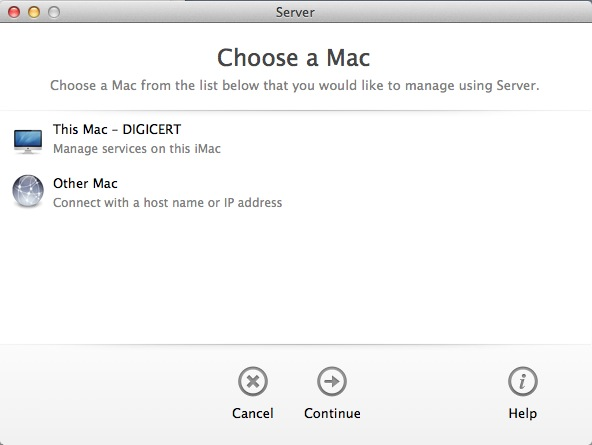
In the Server window, do one of the following actions to select the server to which you imported your SSL Certificate.
-
To assign the certificate to Services on this server
-
Select This Mac – YourServerName and then click Continue.
-
Enter your Administrator Name and Administrator Password and then click Connect.
-
-
To assign the certificate to Services on another server
-
Select Other Mac and then click Continue.
-
Enter your Host Name or IP Address, your Administrator Name and Administrator Password, and then click Connect.
-
-
-
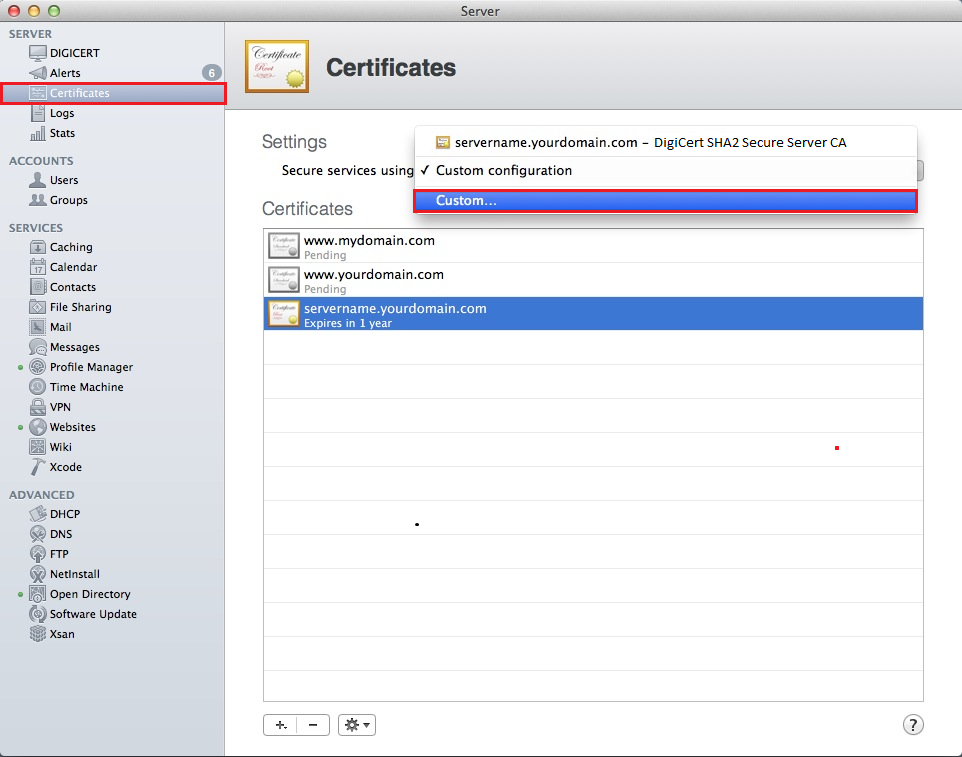
In the Server window, under Server, click Certificates.
-
On the Certificates page, in the Secure services using drop-down list, select Custom.
-
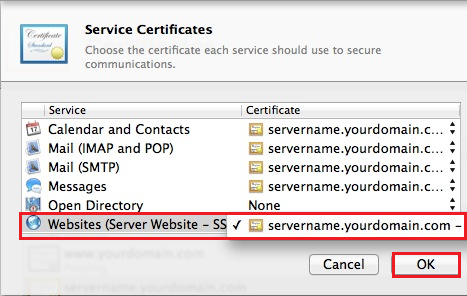
In the Service Certificates window, in the Certificate drop-down list, select your imported SSL Certificate for each Service to which you want to assign it.
For example, in the Certificate drop-down list for Websites (Server Website – SSL) select your imported SSL Certificate.
-
When you are finished, click OK.
-
Your SSL Certificate should now be assigned to your respective Services.
Test Your Installation
If your website is publicly accessible, our DigiCert® SSL Installation Diagnostics Tool can help you diagnose common problems.