Import and Configure a Copy of Your SSL Certificate on Your Exchange 2010 Server

Before you can import the copy of your SSL Certificate to your Exchange 2010 server, you must first export it from the server on which it is installed. See DigiCert Certificate Utility SSL Certificate Export Instructions.
To import and configure the copy of your SSL Certificate, do the following:
After you export your SSL Certificate and Private Key file as a .pfx file, you can copy (import) that file to your Exchange 2010 server and then, assign the services to the certificate.
-
Use the DigiCert Certificate Utility to import the .pfx file to your Exchange 2010 server.
Importing the .pfx File to Your Exchange 2010 Server with the DigiCert Certificate Utility
-
Assign services to your SSL Certificate in the Exchange Management Console (EMC).
How to Assign Services to Your SSL Certificate using the EMC
1. Importing the .pfx File to Your Exchange 2010 Server with the DigiCert Certificate Utility
-
On your Exchange 2010 server to which you want to import your certificate, download and save the DigiCert® Certificate Utility for Windows executable (DigiCertUtil.exe).
-
Run the DigiCert® Certificate Utility for Windows.
Double-click DigiCertUtil.
-
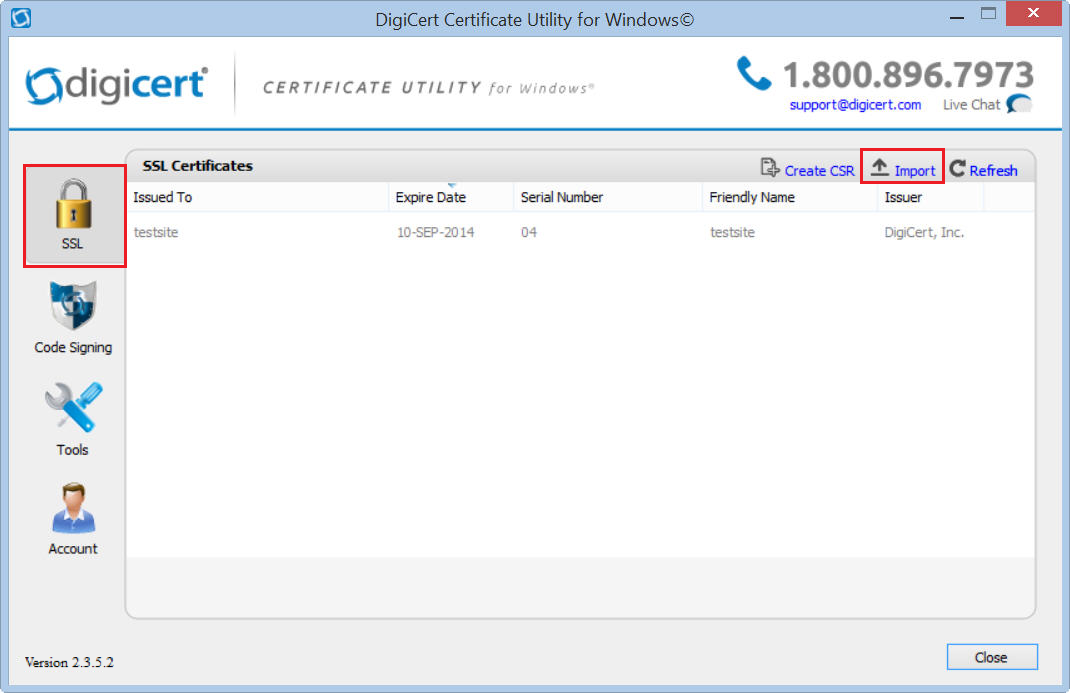
In DigiCert Certificate Utility for Windows©, click SSL (gold lock) and then, click Import.
-
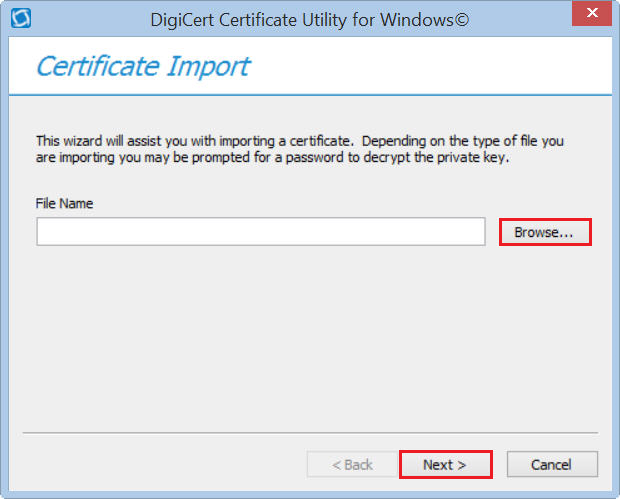
In the Certificate Import wizard, click Browse to browse to the .pfx certificate file (i.e. mail_yourdomain_com.pfx), select the file, and click Open, and then, click Next.
-
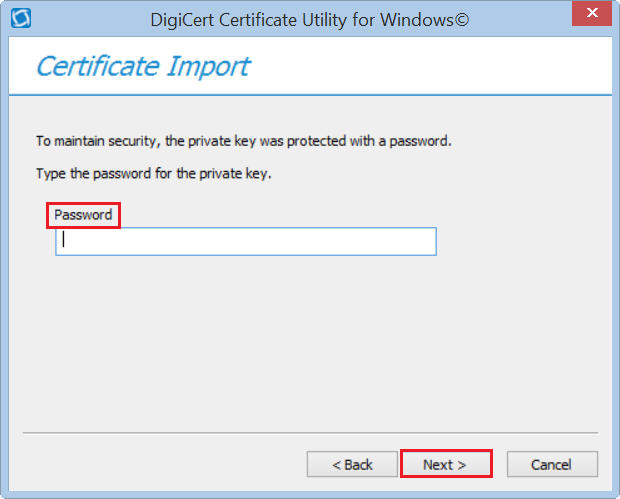
In the Password box, enter the password for the .pfx file and then click Next.
-
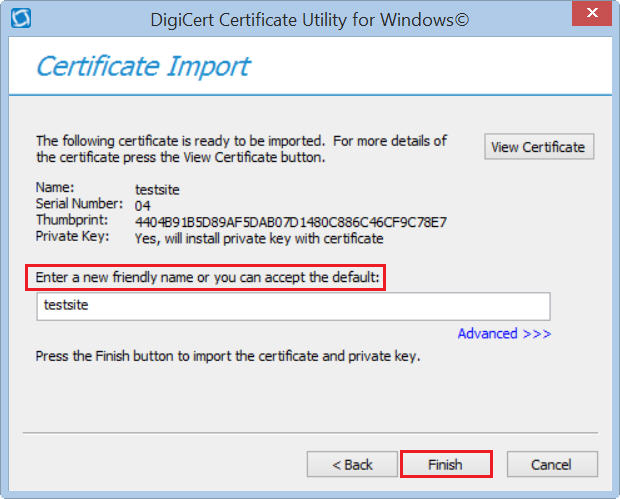
In the Enter a new friendly name or you can accept the default box, type a friendly name for the certificate.
Note: The friendly name is not part of the certificate; instead, it is used to identify the certificate.
We recommend that you add DigiCert and the expiration date to the end of your friendly name, for example: yoursite-digicert-(expiration date). This information helps identify the issuer and expiration date for each certificate. It also helps distinguish multiple certificates with the same domain name.
-
Click Finish to import the SSL Certificate (.pfx file) to your Exchange 2010 server.
You should receive a message that the certificate was successfully imported. You should now see your SSL Certificate in the DigiCert Certificate Utility for Windows©, under SSL Certificates.
-
You can now assign services to your SSL Certificate using the Exchange Management Console.
2. How to Assign Services to Your SSL Certificate using the Exchange Management Console
-
Open the Exchange Management Console (Microsoft Exchange 2010 > Exchange Management Console).
-
In the Exchange Management Console, in the center section, click Manage Databases.
-
In the navigation tree on the left, expand Microsoft Exchange On-Premises and then select Server Configuration.
-
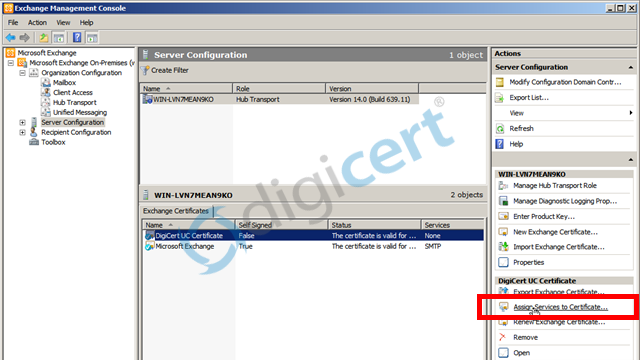
In the center section, under Exchange Certificates, select your newly imported certificate (listed by its Friendly Name) and then in the Actions menu on the right, click Assign Services to Certificate.
-
Next, select your server from the list provided and then click Next.
-
Then, select all of the services (i.e. SMTP, IMAP, POP, and IIS) that you want to assign to your newly imported certificate.
-
In the Wizard, click Next > Assign > Finish.
Your SSL Certificate should now be installed to the Exchange 2010 mail domain with the services that you selected.
Test Your Installation
To verify that the installation is correct, use our DigiCert® SSL Installation Diagnostics Tool and enter the DNS name of the site (i.e. www.yourdomain.com, or mail.yourdomain.com) that you are securing to test your SSL Certificate.
Troubleshooting
If you run into certificate errors, try repairing your certificate trust errors using DigiCert® Certificate Utility for Windows. If this does not fix the errors contact support.
"Revocation Check Failed" Error
If you run into any errors with clients trying to connect to your server, make sure that you don’t have certificate errors next to your SSL Certificate in the DigiCert Certificate Utility. If you don't have any certificate errors but are getting an error stating, 'The certificate status could not be determined because the revocation check failed', don't panic. Your certificate probably wasn't revoked.
This problem is not caused by the certificate itself. It is a result of a combination of your network environment and how your system is configured. Whether you have a proxy or not, this error is almost always caused by proxy settings. Exchange does not get its proxy settings from Internet Explorer, so even if you can access the internet, telnet to port 80 on ocsp.digicert.com, or download CRL files directly using a browser, you may still be having proxy problems.
Exchange uses a Windows service called WinHTTP to go through proxies and determine the validity of a certificate. If you know you use a proxy, then it may simply be a problem with WinHTTP not being configured with the correct proxy settings. To remove the revocation error message, your primary goal is to get the WinHTTP Proxy settings set up correctly for your network environment.
Note: This problem is not a DigiCert caused problem, but if you are having problems, contact us and we may be able to help you.