- Contact Us
-

choose your language

Knowledge Base
Export Your SSL Certificate Using the DigiCert Certificate Utility (PFX Format)
Export your SSL/TLS certificate from one Microsoft server to import on another Microsoft server
Background
Windows servers use .pfx files containing the public key (SSL certificate file) and the associated private key file. DigiCert provides your SSL certificate file (public key file). You use your server to generate the associated private key file as part of the CSR.
You need public and private keys for an SSL certificate to function. If you need to transfer your SSL certificates from one server to another, export them as a .pfx file.
Export Prerequisite
To create a .pfx file, the SSL certificate and its corresponding private key must be on the same computer/workstation. You may need to import the certificate to the computer where the associated private key is stored (e.g., the laptop/desktop computer where you created the CSR) before successfully exporting it as a .pfx file.
For help importing the certificate, see SSL Certificate Importing Instructions: DigiCert Certificate Utility.
Export Your SSL Certificate w/Private Key Using the DigiCert Certificate Utility
These instructions explain how to export an installed SSL certificate from a Microsoft server and its corresponding private key as a .pfx file for importing to another server. If you need your SSL Certificate in Apache .key format, please see Export a Windows SSL Certificate to an Apache Server (PEM Format).
- On your Windows Server, download and save the DigiCert® Certificate Utility for Windows executable (DigiCertUtil.exe).
- Run the DigiCert® Certificate Utility for Windows (double-click DigiCertUtil).
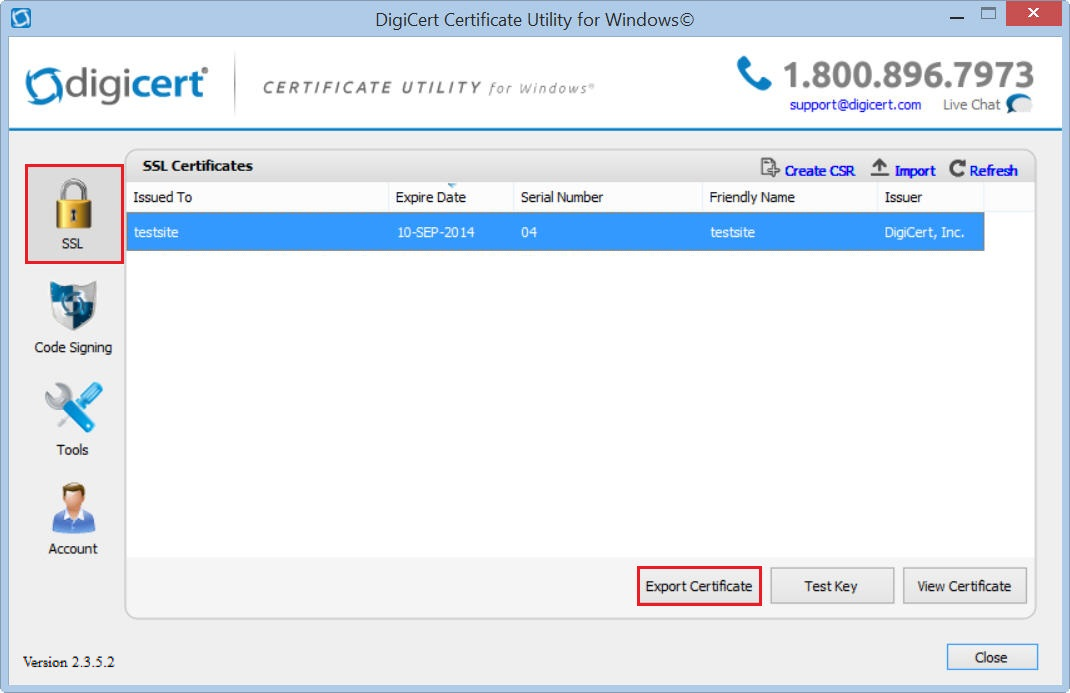
- In the DigiCert Certificate Utility for Windows©, select SSL (gold lock), select the certificate you want to export as a .pfx file, and finally, select Export Certificate.
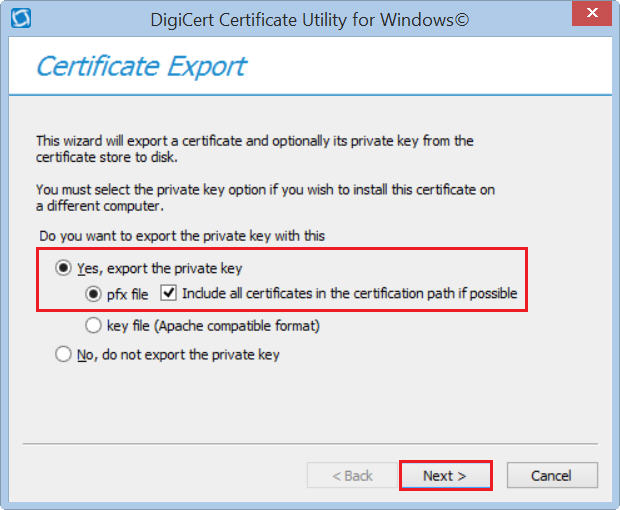
- In the Certificate Export wizard, select Yes, export the private key, select pfx file, and then check Include all certificates in the certification path if possible, and finally, select Next.A .pfx file uses the same format as a .p12 or PKCS12 file.
If the Yes, export the private key option is grayed out (unusable), the certificate's matching private key is not on that computer. This prevents you from creating the .pfx certificate file.
To fix this problem, import the certificate to the same machine where the certificate's CSR was created. See Export Prerequisite.
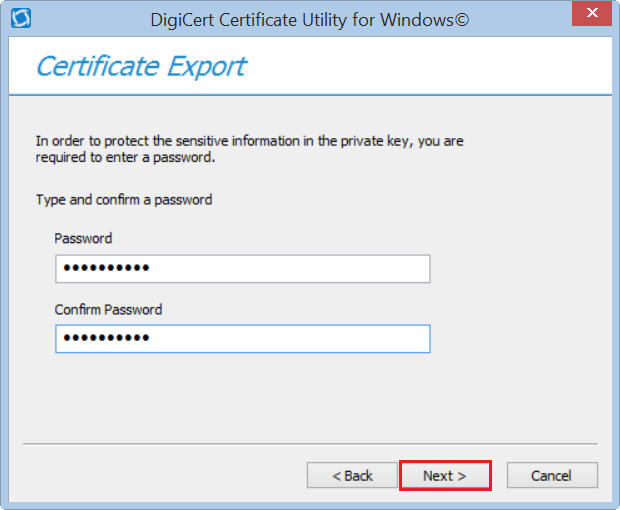
- In the Password and Confirm Password boxes, enter and confirm your password, and then select Next.
You must use this password to import this SSL certificate onto other servers and devices that accept a .pfx file.
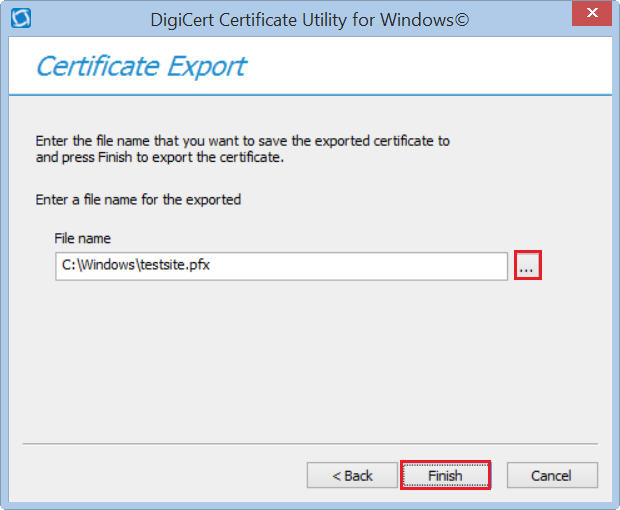
- In the File name box, select … to browse for and select the location where you want to save the .pfx file, provide a file name, select Save, and then select Finish.
- When you receive the "Your certificate and key have been successfully exported" message, select OK.
Import PFX Certificate into Microsoft Windows Server
To import the certificate to your server using the DigiCert Certificate Utility, follow the instructions for that particular server type:
Troubleshooting
After importing your certificate onto the new server, if you run into certificate trust errors, try repairing them using DigiCert® Certificate Utility for Windows. If this does not fix the errors, contact support.
Test Your Installation
To verify you've installed the certificate correctly, use our DigiCert® SSL Installation Diagnostics Tool. In the Server Address box, enter the DNS name of the site (e.g., example.com) that you secured with your SSL certificate.
-

The most-trusted global provider of high-assurance TLS/SSL, PKI, IoT and signing solutions.
-


-
© 2022-2024, DigiCert, Inc. All rights reserved.
Cookie Settings
