SSL Certificate Installation in FileZilla
![]()
Use these instructions to install your SSL Certificate for FileZilla.
Before installing your SSL Certificate, you first need to create a Certificate Signing Request (CSR). See OpenSSL Certificate Signing Request (CSR) Creation for FileZilla SSL.
How To Install an SSL Certificate for FileZilla
-
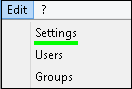
On your FileZilla server, open FileZilla Server Options.
Click Edit > Settings.
-
In the FileZilla Server Options window, in the tree on the left side, select SSL/TLS settings.

-
On the right side, under SSL/TLS settings, check Enable SSL/TLS support.
-
In the Private key file box, enter the location of the key file that you generated when you created the CSR.
For example, C:\Program Files\FileZilla Server\your _domain_name.key
Note: If you followed DigiCert’s OpenSSL Certificate Signing Request (CSR) Creation for FileZilla SSL instructions, you do not need to enter a password in the Key password box.
-
In the Certificate file box, enter the location of the .pem certificate file that contains the server certificate + intermediate certificate.
For example, C:\Program Files\FileZilla Server\your _domain_name.pem
-
When you are finished, click OK.
-
Your SSL Certificate is now installed and ready to use.
-
First Connection
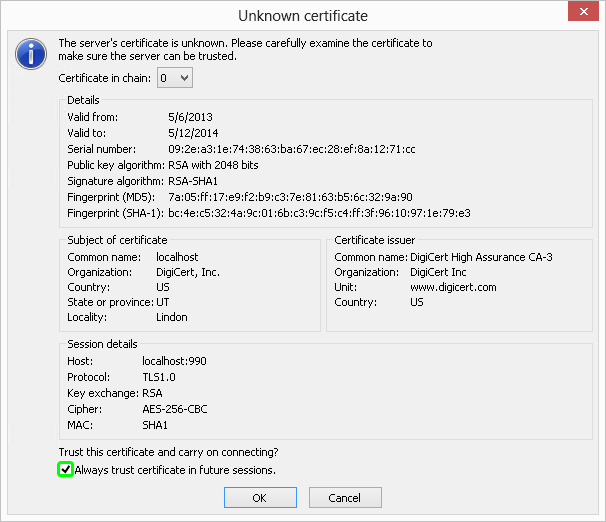
On the first connection using the FileZilla client, you are presented with the certificate files from the server.
To avoid receiving this prompt on future connections, in the Unknown certificate window, check Always trust certificate in future sessions, and then click OK.